Provisioning your Application
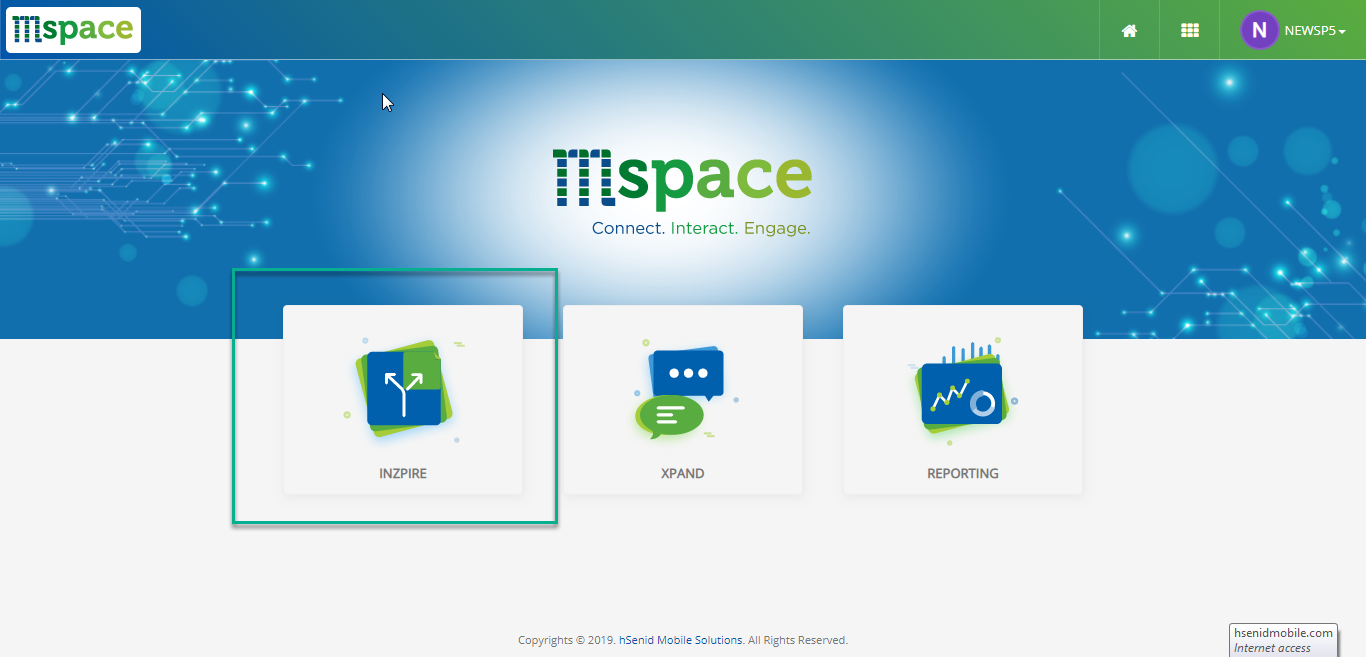
- Click on the Inzpire icon as shown below.
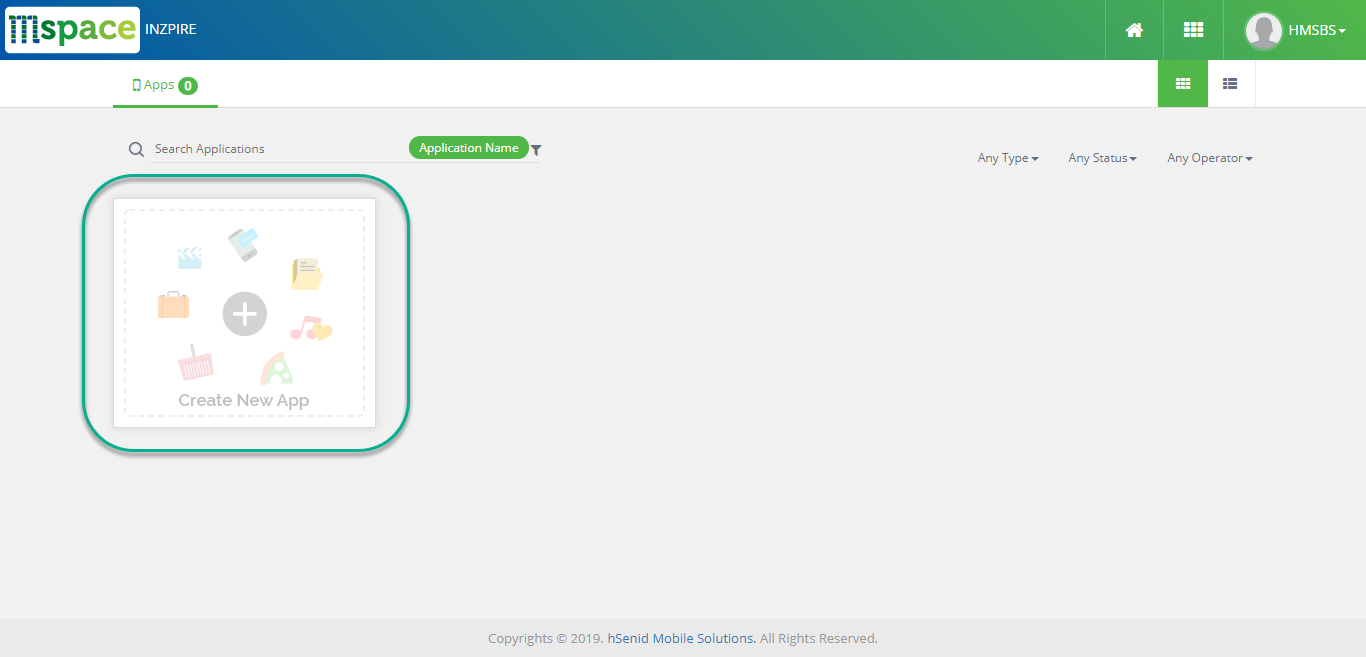
- Click on '+' button to create a new application.
- Fill in the form which appears in the popup page.
- Press next on the form which will land on the following page
- SMS Configuration
- USSD configuration
- CaaS
- Subscription configuration
Under Basic page: –
Application Name: The Name of your desired application.
Application Description: Give a proper description about your application and its purpose because it will be easier to approve your app quickly. Application description should be more than 4 characters and less than 1000 characters.
Allowed Host Address: A valid host address your application might be hosted. (hover over this '?' symbol to review further details.)
Whitelisted Numbers: Mobile numbers that are used test the application. (hover over this '?' symbol to review further details.)
Blacklisted Numbers: Mobile numbers that are restricted to access the application.
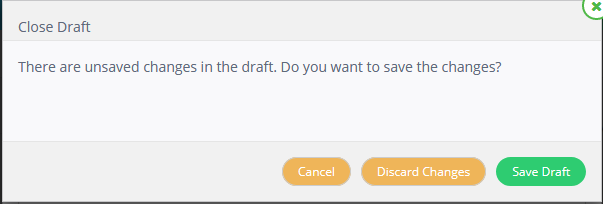
You terminate the application creation procedure by clicking 'Discard Changes' button.
You can save the details filled by pressing the Save Draft button and access it later.
The following is a sample filled form:

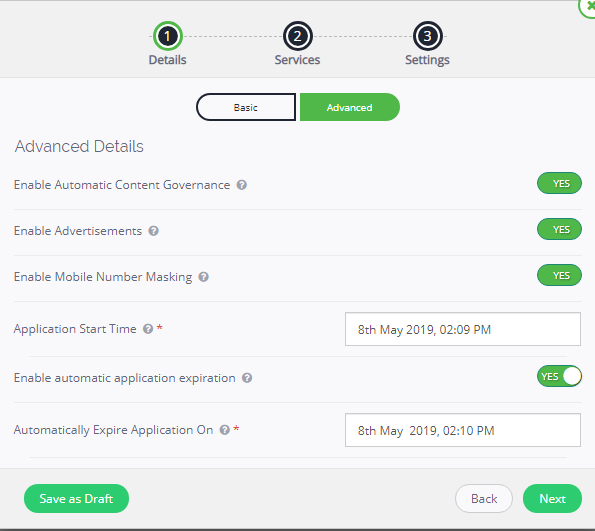
Under Advanced page: –
Enable Automatic Content Governance fixed value is - yes
Enable Advertisements fixed value is - yes
Enable Mobile Number Masking fixed value is - yes
Select the start date and time for he application to go live.
Select the expire date and time if expire date is needed for the application to stop providing the service
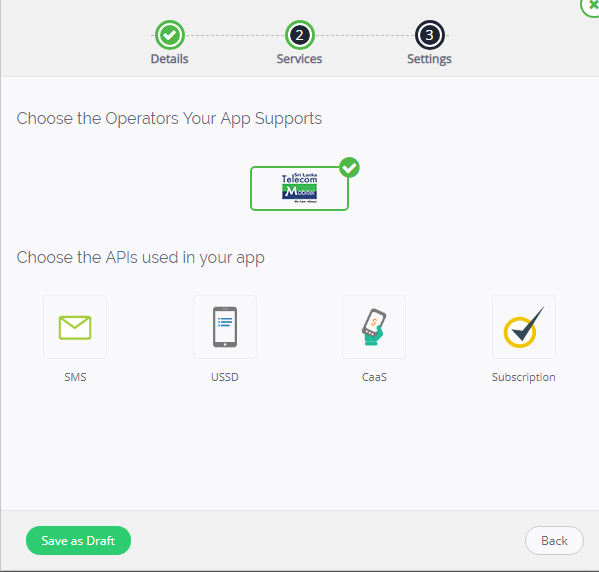
Select the Mobitel Operator as it is the prime provider of APIs
In-order to go to next page you have to select one of the APIs.
SMS: It is the API for sending and receiving SMS.
USSD: It is the API for sending and receiving USSD.
CaaS: It is the API which allows paymets mobile cash.
Subscription: It is the API is for Subscribing and unsubscription.
SMS-page1
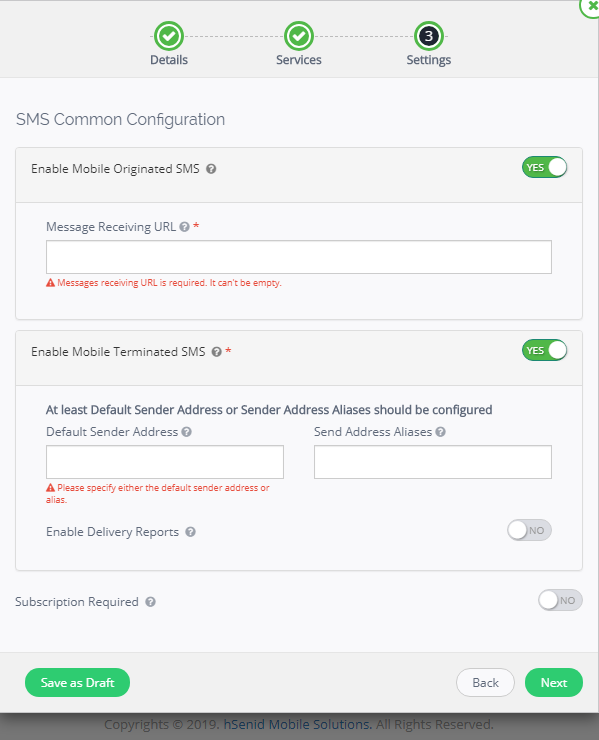
Message Receiving URL: The landing URL which you want the users’ message to be.
Default Sender Address: Default name (example:mSpaceApps) you want to send under.
Send Address Aliases: Other names (examples:mobitelApps,mobitel) you want to send under.
Delivery Report URL: The URL you want your reports to land.
SMS-page2
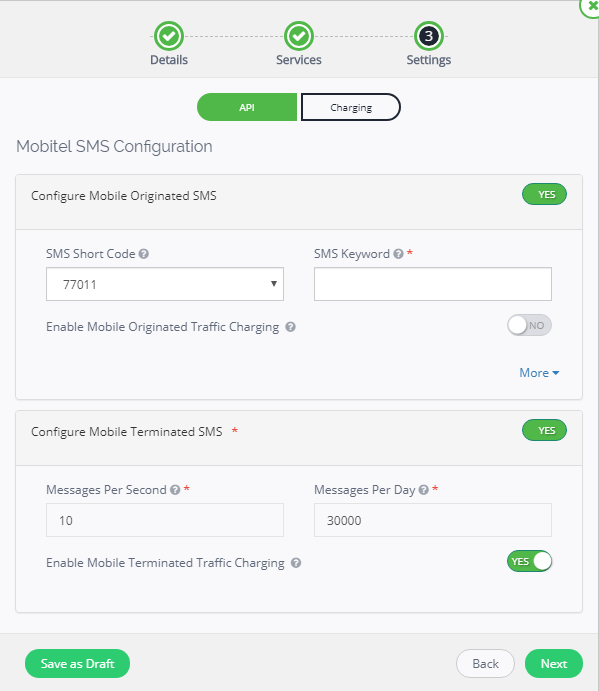
SMS Short Code: Short code (examle:0700) which is use to send messages.
SMS keyword: unique short name (examle:mSpaceIO) which is to identify your application.
Press next and it will land on the following page:
Delivery Report URL: The URL you want your reports to land.
SMS-page3
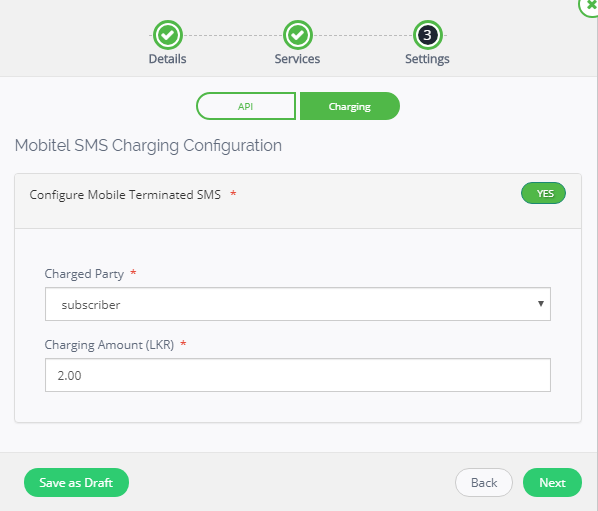
Charged Party: The party which will get charged upon usage.
Charging Amount: The amount charged from the charging party.
Mobile originated: user sends message to the app.
Mobile Terminated: apps send message to the app.
Continue by pressing next. That will complete the SMS configuration.
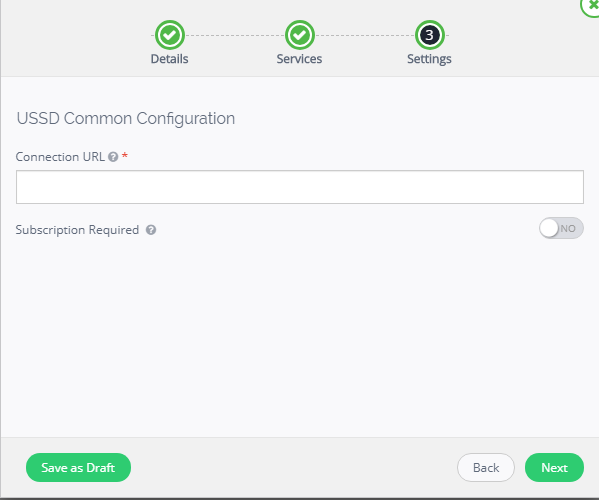
Connection URL: landing URL which you want the users’ USSD to be.
Continue by pressing next.
USSD-page2
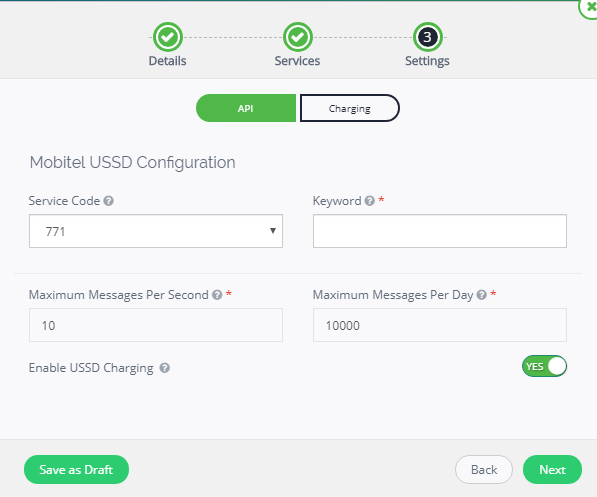
Service Code: The Short Code the USSD would be sent to.
Key Word: The unique short number you would send along with the Service Code.
Continue by pressing next.
USSD-page3
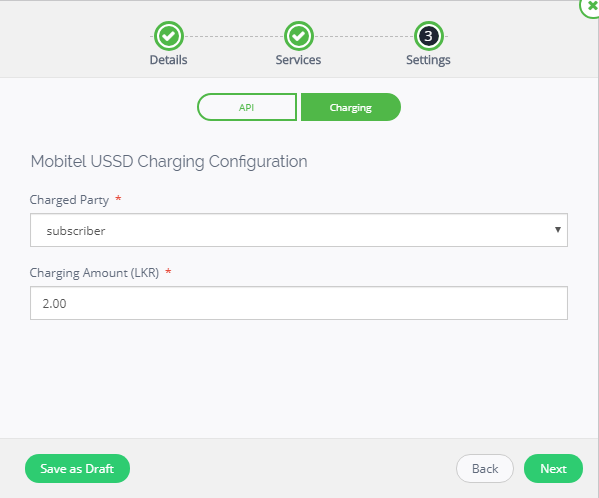
Charged Party: The side which will be get charged.
Charging amount: The amount charged from the charging party.
Press next to finish the USSD configuration and proceed to CaaS.
CaaS-page1
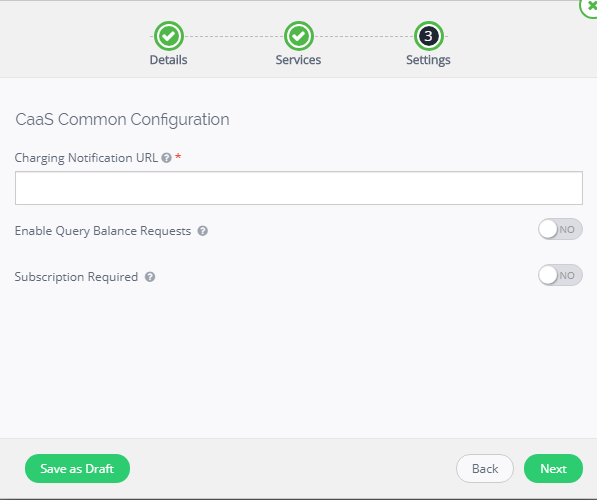
Charging Notification URL: A notification will be sent to this URL after charging hs been completed.
Press 'Next' button to continue.
CaaS-page2
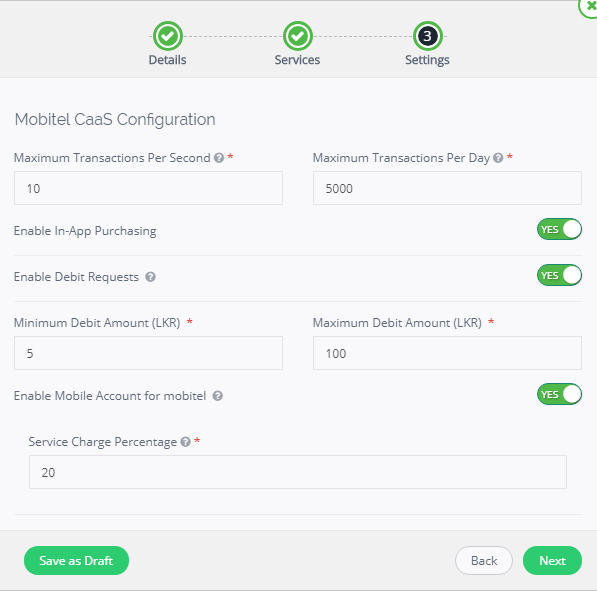
At least one payment instrument has to be selected apart from In-App Purchasing and Debit Requests.
Debit Requests: To charge the users for your service.
That will complete the CaaS configuration.
Subscription-page1
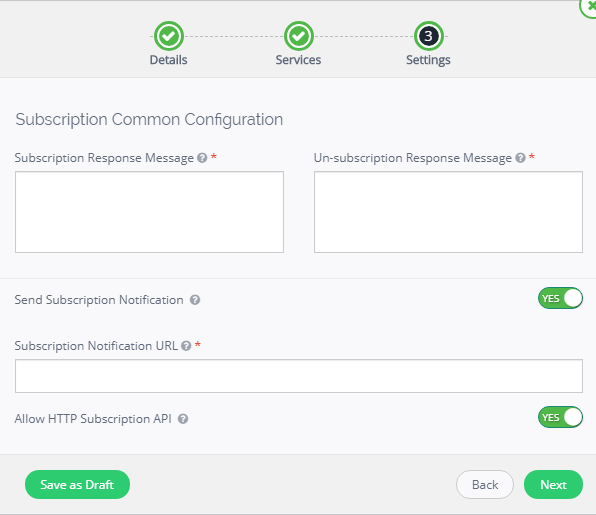
Subscription Response Message: This content will be the message sent to the subscriber upon subscription.
Unsubscription Response Message: This content will be the message sent to the subscriber upon unsubscription.
Subscription Notification URL: The URL you want to set for subscription.
Press 'Next' button to continue.
Subscription-page2

Select the maximum number of Subscriptions per day.
Press 'Next' to proceed to the next page.
Subscription-page3
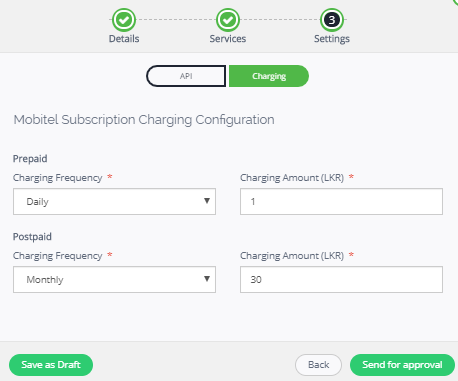
Select the charging frequency ('monthly’, ‘daily') and the amount(example:2.00) to be charged for prepaid and postpaid customer base.
The 'Save as Draft' to save the configurations you have made.