How to create an Scheduled Messages Application
- Step 1
- Step 2
- Step 3
- Step 4
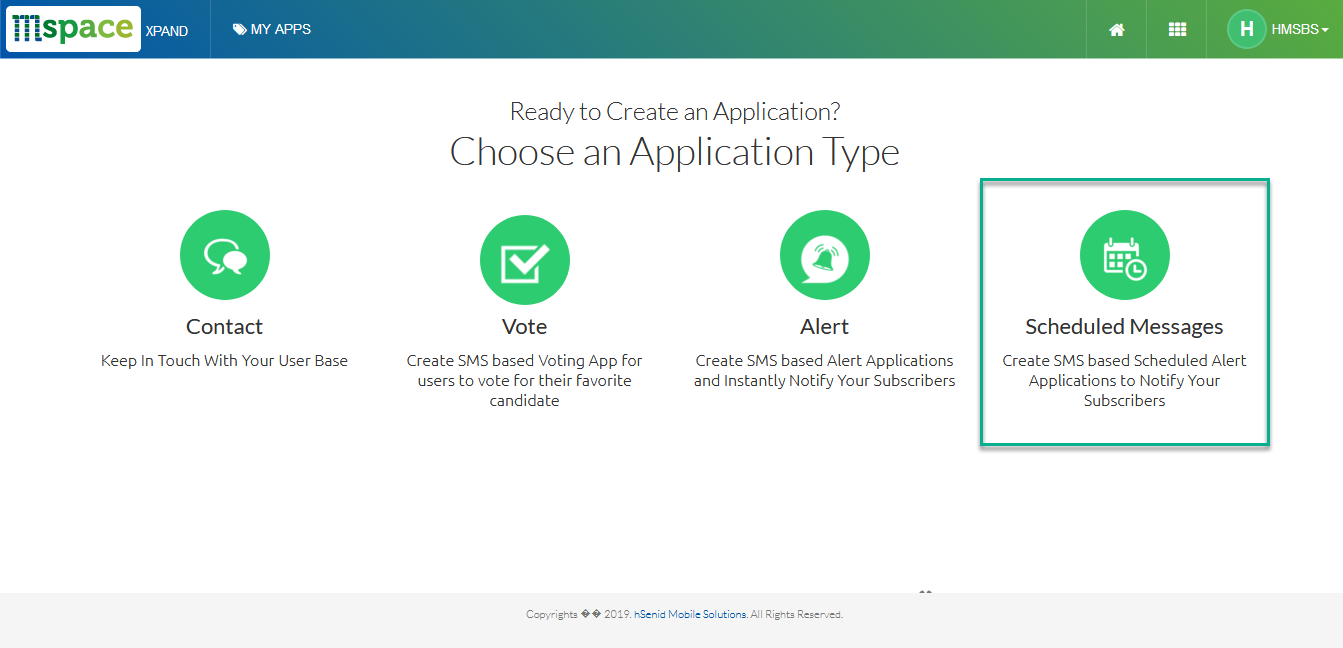
Click on the Scheduled Messages button as follows.
Fill the details regarding your Scheduled Messages application.

Application Name – Should have 4-9 characters.
Application Description- Give a proper description about your application and its purpose because it will be easier for admin to approve your app quickly.
Select a Short Code from the given list and enter a Keyword.
Keyword must be a simple unique term which doesn’t already exist.
Additional Settings
Schedule Settings
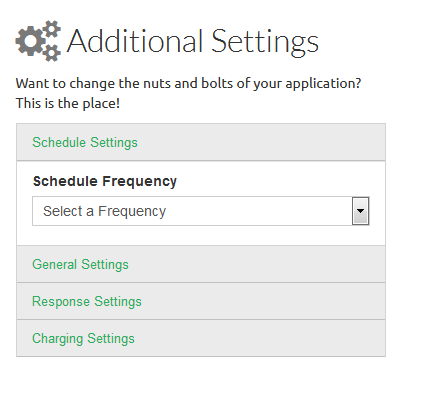
Message Scheduled Duration – You can select it as 'HOURLY', 'DAILY', 'WEEKLY' or 'MONTHLY'.
Preferred Dispatch Time – Varies according to what you select on Message Scheduled Duration.
General Settings
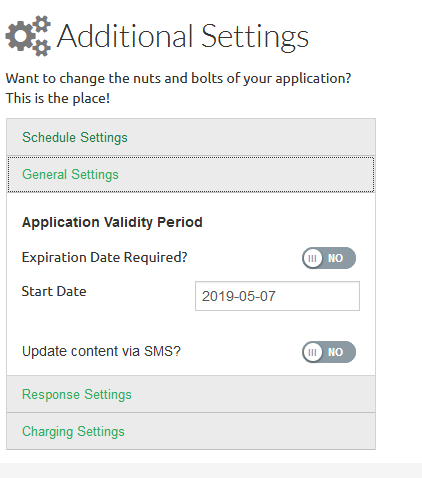
Application Validity Duration – If your Contact Application is limited for a certain period of time, enable the 'Expiration date required?' toggle button and specify the expiry date.
Enable the toggle button update the content via SMS, if you need to update the content so.
Response Settings
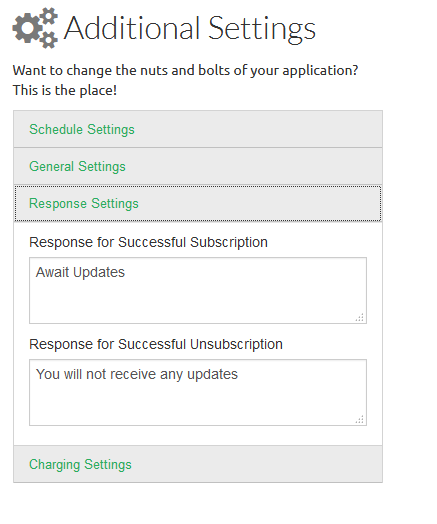
Response Configuarations – The above mentioned details are set by default. But you can edit them to whatever you need.
Charging Settings
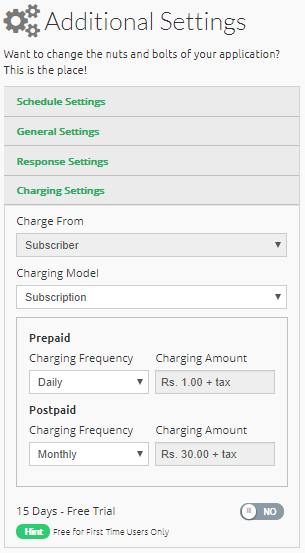
Select the charging frequency ('monthly’, ‘daily') and the amount(example:2.00) to be charged for prepaid and postpaid customer base.
Charge From– These details are set by default.
Charging Model– You can select Charging Model as 'Subscription' or 'Per Message' for prepaid and postpaid customers separately.
Charging Frequency – You can select Charging Frequency as 'Daily' or 'Monthly' for prepaid and postpaid customers separately.
Charging Amount– Charging amount shall be a default value for prepaid and postpaid customers.
You can activate 15 Days free trial if you are using the app for first time.
The provided details will be displayed as shown below.
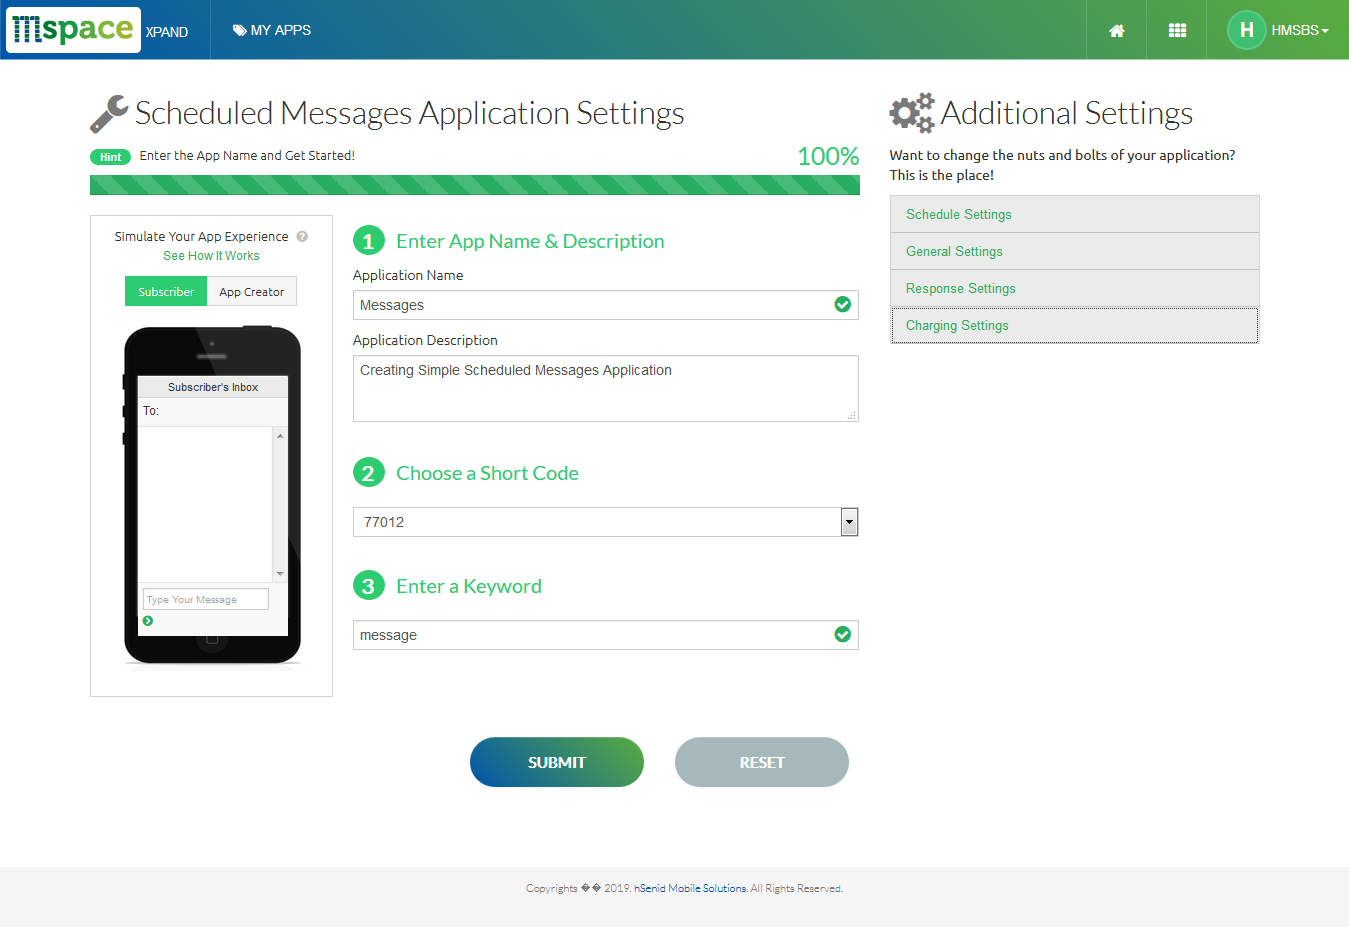
Re -check the details you have entered, modify any changes and click Submit.